

TL;DR
If you need to export brand files for a client in Illustrator, the short version is this: clean up your artboards first, rename every file so it makes sense to someone who’s never opened Illustrator, then export in the formats they’ll actually use (vector AI or EPS for print, PNG or SVG for digital). Skip this prep work and you’ll end up fielding confused emails for weeks after handoff.
Learning how to export brand files for a client in Illustrator is one of those skills nobody really teaches you in school, but it makes or breaks how professional your handoff feels. You can design the most gorgeous logo suite in the world, and if the client opens their folder to find twelve files named “Final_v2_USE_THIS.ai,” you’ve undone a lot of that polish in about three seconds.
The good news is that once you build a repeatable system for this, it takes maybe ten extra minutes per project. Let’s walk through exactly how to export brand files for a client so the process feels effortless on your end and painless on theirs.
Why the Way You Export Brand Files Actually Matters
Clients almost never know Illustrator. They know Canva, maybe PowerPoint, maybe nothing design-related at all. So when you export brand files for a client, you’re not just saving artwork. You’re translating your work into something a marketing coordinator or a print shop can actually use without calling you three times.
This matters even more if you’ve done any client education around their brand guidelines. If you’ve already put together what to include when you hand off a brand guide to a client your file export should match that same level of clarity. A gorgeous PDF guide followed by a messy folder of unlabeled files sends a mixed message.
Clean Up Your Artboards Before You Export Anything
Before you even open the export menu, take a pass through your file. Delete any old exploratory logo concepts sitting off to the side of your artboard. Clients have been known to zoom into a file, screenshot an early sketch you rejected weeks ago, and ask why their logo suddenly looks different.
Check that your artboards are named clearly inside Illustrator too (Window > Artboards), since Illustrator will use those artboard names when you batch export. “Artboard 4” tells you nothing. “Logo-Primary-Full-Color” tells you everything.
Rename Your Files Before You Export, Not After
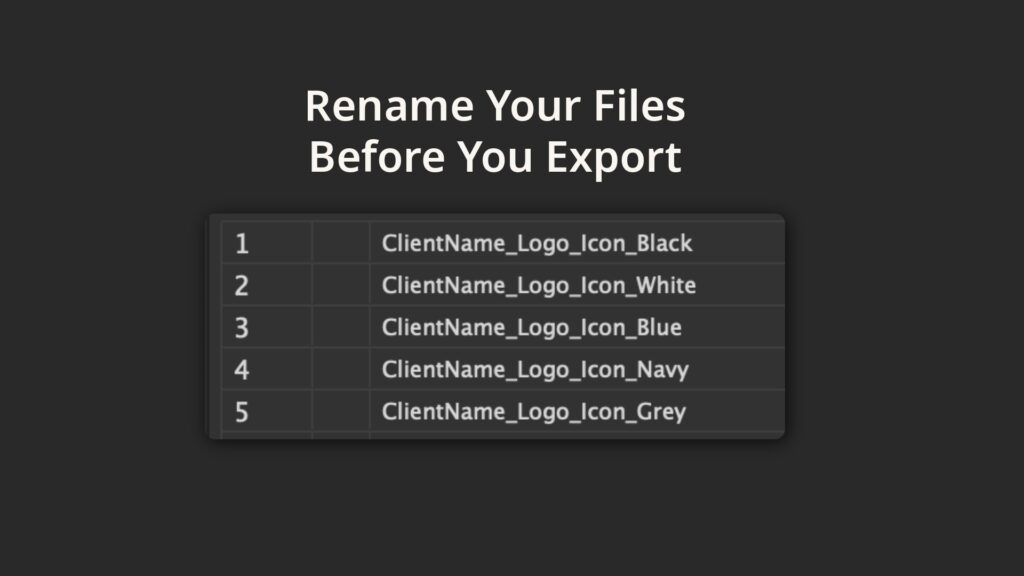
This is the step that saves you the most grief, and it’s honestly the one habit I’d tell any newer designer to build first. Rename every file before you export it, not after. Trying to rename a folder of forty exported files after the fact is tedious and error-prone, and you’ll inevitably mix up which PNG belongs to which variation.
When I export brand files for a client, I use a consistent naming pattern every time: brand name, logo variation, color mode, and file type. Something like ClientName_Logo_Primary_FullColor or ClientName_Logo_Icon_Black. It looks a little clunky in your own project files, but from the client’s side, it means they can search their folder and immediately find “the black one” or “the one for Instagram” without opening a single file.
If you’re setting client expectations early, this pairs well with the process you outline during client onboarding, since you can mention upfront that their final files will arrive labeled and organized.
Choosing the Right File Formats
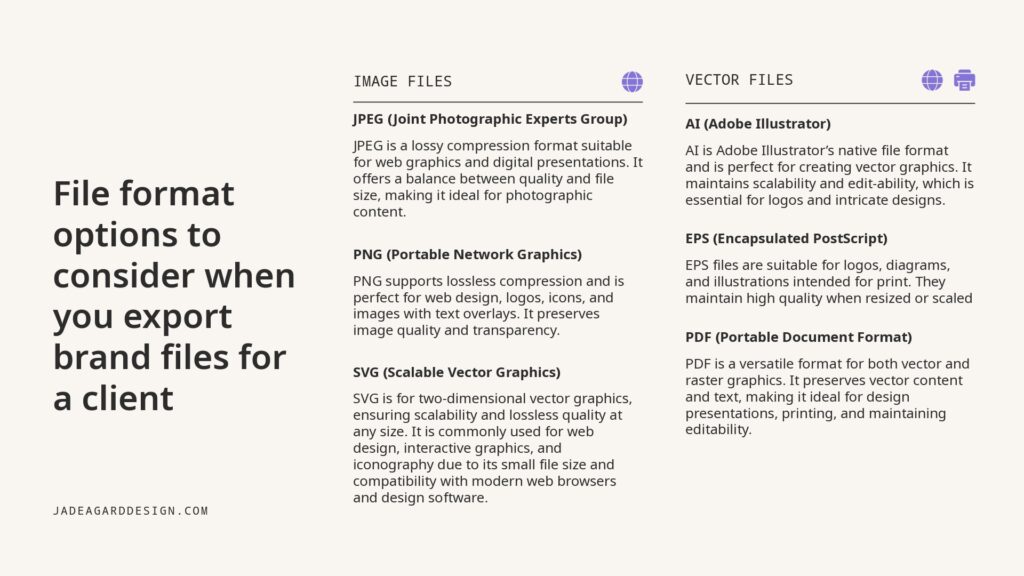
A big part of learning how to export brand files for a client in Illustrator is understanding that different formats serve different purposes. Here’s the breakdown most clients actually need:
- AI (native Illustrator file): Keep one editable master file per logo variation, mainly for your own records or for another designer who might work on the brand later.
- EPS: Still requested by a lot of print vendors and promotional product companies. It’s a vector format that scales infinitely without quality loss.
- PDF (vector, with fonts outlined): A safe universal option since most people can open a PDF regardless of their software.
- SVG: Essential for web use since it’s a vector format that renders crisp on any screen size.
- PNG (transparent background): The format most clients will use daily, for things like email signatures, PowerPoint decks, and social media.
Always outline your fonts before exporting (Type > Create Outlines) so you’re not relying on the client having the same fonts installed. If font licensing questions come up during a project, that’s worth flagging early using the guidance in font licensing for designers, since some fonts can’t legally be embedded or shared outside your own license.
Using Illustrator's Export Options
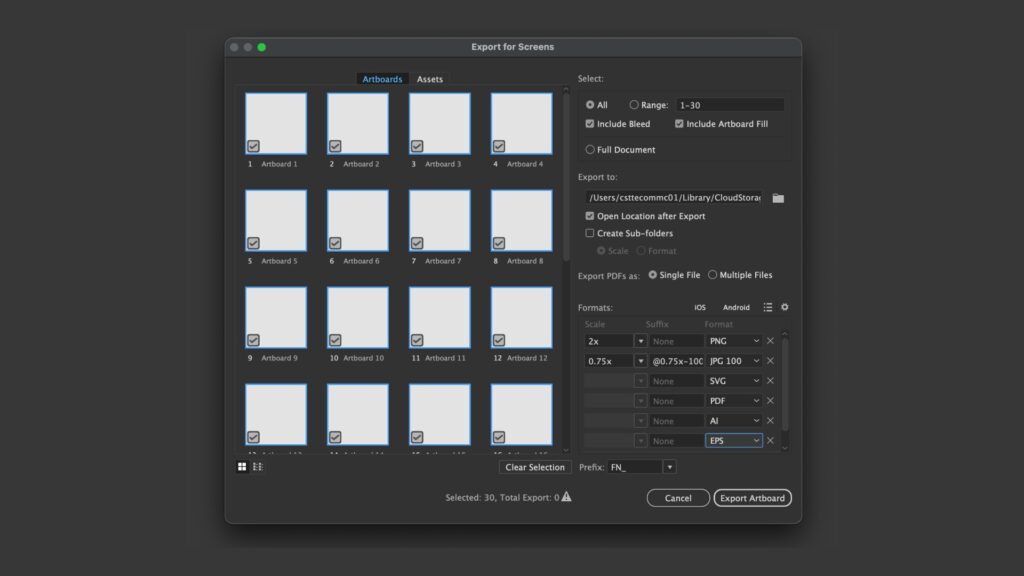
Illustrator gives you a few different ways to export brand files, and each one suits a different situation.
Export As (File > Export > Export As) works well when you need a single file in a specific format, like one PNG of your primary logo.
Export for Screens (File > Export > Export for Screens) is the better option when you’re exporting multiple variations and formats at once, since you can select several artboards, choose multiple formats, and set your resolution all in one pass. According to Adobe’s own documentation on exporting for screens, this feature lets you select the artboards you want, then choose one or more formats like PNG, SVG, or PDF, all in the same export pass. This is the fastest way to export brand files when a client needs a full suite of logo variations.
Package (File > Package) bundles your fonts, linked images, and a copy of your file into one folder. This is mainly useful if you’re sending your working file to another designer, rather than the final client-facing files.
Organizing the Final Delivery Folder
Once everything’s exported, organize it into folders by use case rather than dumping every file into one directory. A simple structure works well:
A folder for print files (EPS, PDF, AI), a folder for digital files (PNG, SVG), and a folder for source files (your working AI file). Add a short README text file inside if you want to go the extra mile, explaining which file to use for what.
If your brand guidelines template already covers usage instructions, you can reference that document in your delivery email so the client has both the files and the context for using them correctly.
Ready to make handoff even smoother? My Brand Guidelines Template pairs perfectly with your exported files, giving clients a clear reference for when and how to use each version of their logo.
Next Steps: Start This Week
- Build your naming convention now. Write out your standard file naming pattern (brand name, variation, color mode, file type) and save it somewhere you’ll actually reference it on your next project.
- Create an export template folder. Set up your print, digital, and source subfolders once so you can duplicate that structure for every client going forward.
- Test Export for Screens on your next project. If you’ve been exporting one file at a time, try batch exporting your next logo suite and see how much time it saves.
- Add a delivery note to your process. Draft a short paragraph you can reuse in client emails explaining what each file is for, so you’re not answering the same questions project after project.
Want more support turning your final files into a polished handoff? My Brand Guidelines Template gives clients a clear, professional reference for using their new brand assets correctly.
Frequently Asked Questions
What's the best file format to export a logo for a client?
It depends on how they’ll use it. For print, export vector formats like EPS or PDF. For digital and web use, PNG and SVG are the most practical choices.
Should I export brand files with a transparent background?
Yes, for PNG files intended for things like websites or presentations. Keep at least one white or solid background version too, since some clients aren’t sure how to use transparent files in programs like Word.
Do I need to outline fonts before I export brand files?
Yes. Outlining fonts (Type > Create Outlines) converts text into vector shapes, so the file displays correctly even if the client doesn’t have your fonts installed.
How many logo variations should I include when I export for a client?
Most brand packages include a primary logo, a secondary or stacked version, and a standalone icon or mark, each in full color, black, and white.